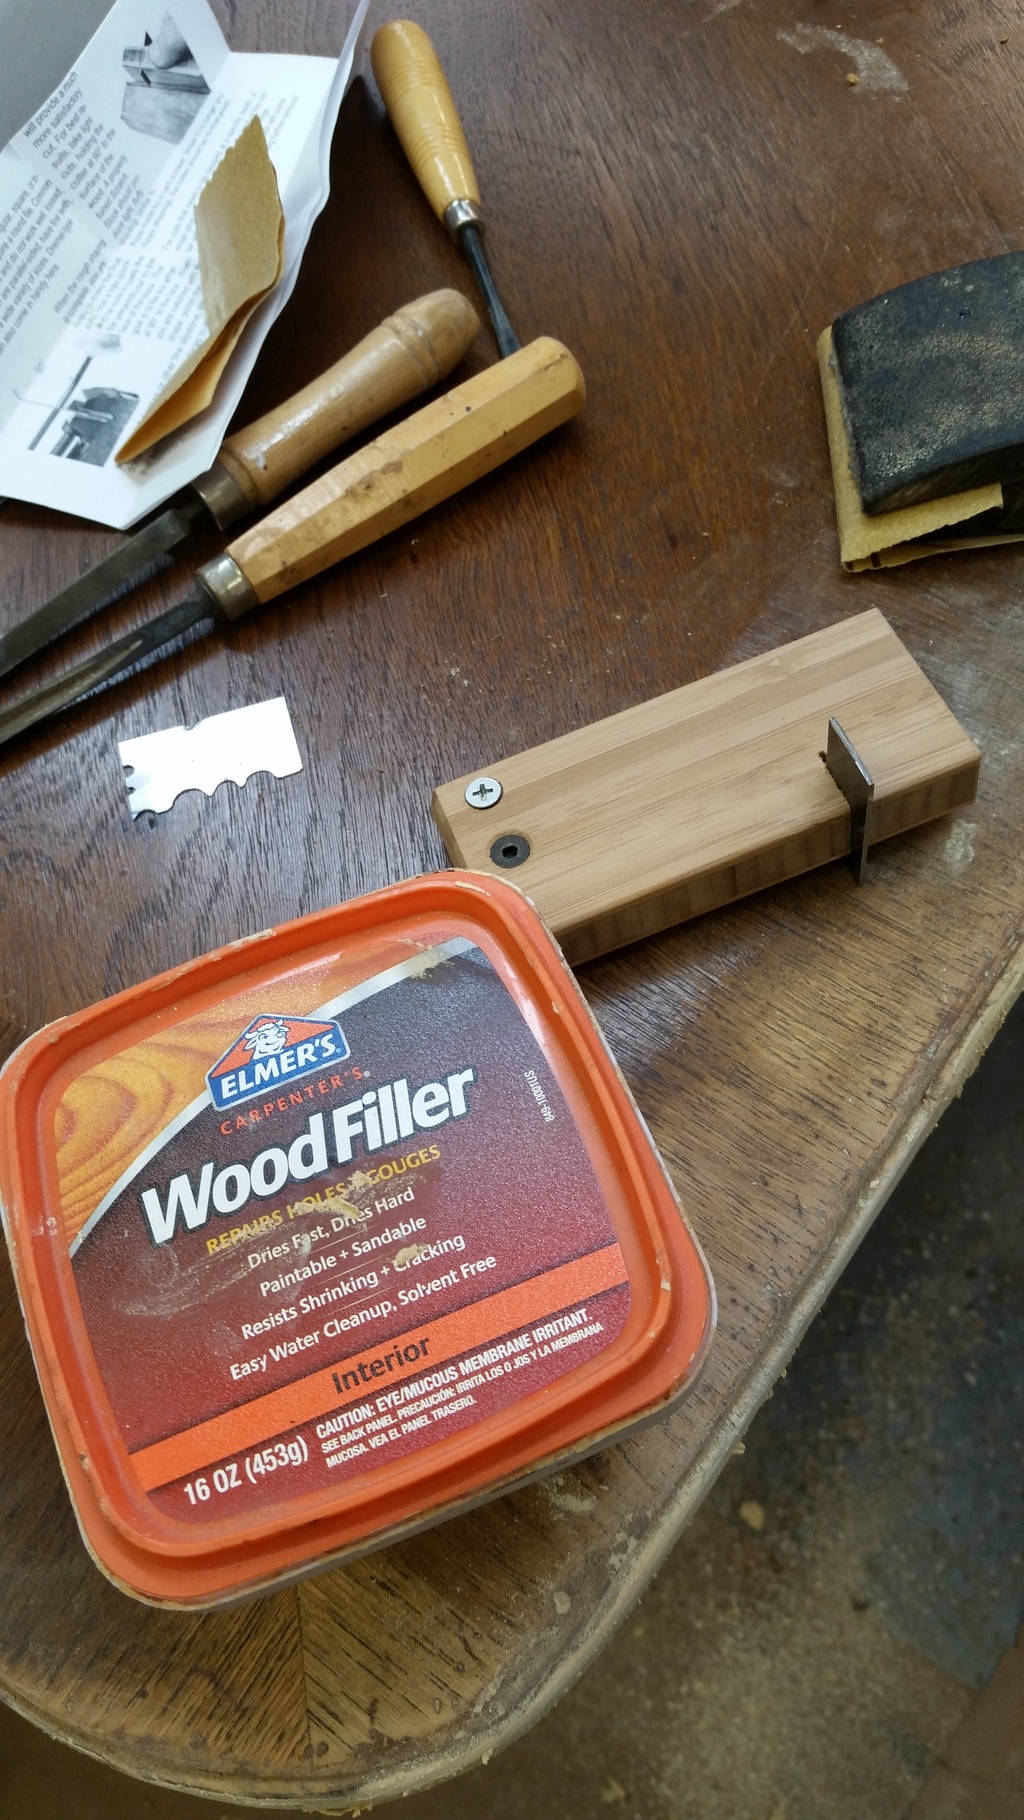
Basic tools, wood putty and sandpaper is all we'll use for this intricate repair.
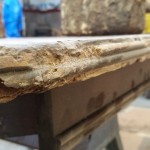
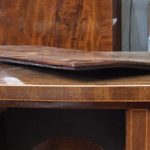
How to repair this detailed table edge that was chewed by a dog.
The table in this tutorial has severe damage on the shaped edge caused by the owner's dog. Who would have thought a small dog could do so much damage? The edge profile was intricate, created by a triple beading router bit. In this tutorial, I'll custom shape a hand scraper and repair the edge by filling with wood putty and re-shaping the edge.

Undoing the damage created by man's best friend
By: Rod Keyser
At first glance you are probably saying to yourself, Rod - why not just use a triple beading router bit? Wouldn't that be easy? Well, I asked myself the same question. The reason I didn't was that to start with I didn't have one, nor could I find the exact size locally. I also worried about doing more harm than good with a router. Routers tear stuff up, and one tiny miscalculation can be big trouble.
Nope, I need a more fail safe method. After all, this is not my table, but rather a clients. After some thought, I recalled many years ago learning about making unique contour moldings by creating a custom cabinet scraper. This was a common method used many years ago by furniture makers, but rarely used today.
To begin the repair, we must first assemble the necessary tools.
Here is what we'll be using:
- Elmers Brand Wood Putty
- Scratch Stock and scraper
- 120 grit sandpaper and sanding block
- Dremel and grinding stone
- Level and 2 clamps

I know it's bad, but we can do this !!
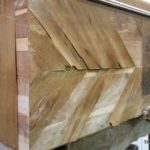
Step one in completing this repair is to fill and re-shape the table edge so that we have a perfectly flat contour. I'll do this using carpenters wood filler made by Elmers. This is my choice mainly because it's relatively soft once dry, and easy to shape.


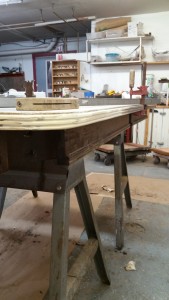
Once the filler is completely dry and hard, using a sanding block and 120 grit sandpaper I begin sanding the surface flat. My intent is to create a flat and square surface. This process will take several attempts to complete. Each time filling any low spots and voids until the repair surface is perfectly flat and square.
As my repair begins to take shape, I sand the underside square. I'm careful to hold the sanding block flat against the bottom of the table.


I repeat the process on the top edge. Again, all I am doing is forming a square edge.
After several applications of wood putty and sanding, my edge is about square and I am ready to proceed to the next phase of this project. I can continue to tweak my edge as I am making my profile scraper.

Lets summon our inner primitive self and make some hand tools!

Let's begin with making a scratch stock. A scratch stock is part scraper, part molding plane. It's a small, flat blade filed and honed to cut a groove or a bead close to the edge of a work piece. I'll be using a scratch stock made by Hock Tools. You can make a holder and scratch stock yourself, but for the sake of simplicity and speed we'll start with the kit from Hock.
Next, I'll be swapping out the scratch stock blade that comes with the Hock kit with a small hand scraper blade from Garlick. They are made by Thomas Finn & Co. The scraper that comes with the Hock is great, but I found it to be a little more rigid than I needed for my project so I opted for the thinner and easier to shape mini scraper from Garlick.


Here is the Hock Scratch Block assembled out of the box. Normally, we'd want the heavy scraper stock to form an edge on wood because a thin blade would flex and bend. However, we'll actually only be scraping and forming hardened wood putty, so we won't need the thicker scraper. We'll only use the wooden holder from Hock.
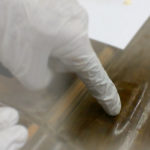
In order to make our custom scratch stock, we need an exact copy of the profile we want to create. I'll do this using a specialty tool called a profile gauge. Profile Gauges are an invaluable aid for copying curved shapes. Steel needles conform to any shape it is pressed against.
Using an undamaged area of the table edge, I carefully press the profile gauge against it and it will form my profile perfectly.


As I remove the gauge, we can see the profile we will create and I can transfer this shape to my cabinet scraper.
Our last tool will be a Dremel fitted with a pointed grinding stone. This is really just another time saving method and we could achieve the same or perhaps better results using files.


Time to make stuff !! Okay, let's start by clamping the scraper in a vise. If you don't have a vice on a workbench, a pair of vice grips could be used in place of the vice.
After tracing the profile onto the scraper, I slowly start removing material with the dremil and grinding stone. There are several sides, so I used one just to practice on.
After a little practice and one failed attempt I was able to duplicate my profile perfectly. It required removing the scraper from the vice and holding it against the table edge numerous times for minor grinding and detailing.


I placed the custom scraper in my scratch stock and I'm ready to make my new edge.
In order to make our new profiled edge, we need a guide to run our stock against. I use a level because I know it's perfectly straight and I use the scratch stock as a guide. By clamping the level to the table and triple checking it's perfect position, I am ready to make my profile.


Now, with a firm grip and using the level as my guide, I slowly pull the scratch stock down the length of the table edge.
If we have done the job correctly, our new profile will shape very easily because all we removed was wood filler.


Last step is just a little fine tuning with sandpaper and our repaired table edge is all finished !!
Be sure not to do anything but a very delicate sanding, if any sanding at all.


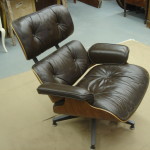
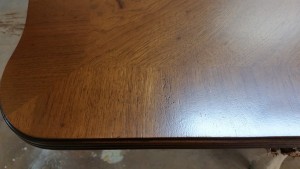
AFTER
After completing the repair the table was refinished and the repair area was colored in by performing a little color glazing. What a fun project!
BEFORE
Remember where we started 🙂 Pretty amazing transformation that took the better part of a day to complete the repairs but was well worth it!!

Our repaired and refinished table. Who would ever know?


Rod Keyser is the owner of The Restoration Studio LLC and has been restoring and refinishing furniture since 1982. Rod also created and maintains The Refinishing Studio Learning Center along with his wife Jennifer where together they are teaching their craft online through their membership website at www.werefinish.net.